 Did we miss anything on this map? Is there something we didn't discover? Let us know!
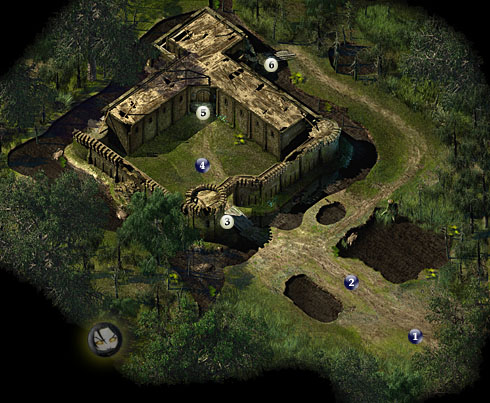
So you've decided to make the venture to the Moathouse. Before you move forward, there are a few things you should know. First, there is more than one way in, both at area #5 and area #6. Secondly, should you require rest, you'll find a safe spot inside the moathouse tower interior, at exit #3. Once in, however, you'll first have to deal with a poisonous spider before it's safe. Finally, beware of giant frog ambushes as you step forward toward the moathouse.
1) You Enter Here: This is where you're party will land if you select the Moathouse from the
World Map.
2) Giant Frog Encounters: You'll have to fight several giant frogs on your way to the plank that marks the entrance to the courtyard of the ruins. It's okay to fight in the water, you won't suffer (or at least I didn't observe) any penalties for doing so in ToEE. You can defeat anything out here with a level 1 party. When you venture inside, however, it's a completely different story, unless you're really good.
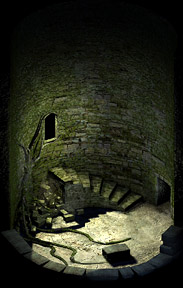
3) EXIT: to the Moathouse Tower Interior. You can safely rest here... after you kill the spider.
4) Bandit Ambush: Not much of an ambush if you know in advance, though your character's won't know that. There will be several bandits in the courtyard spaced at a distance from one another, that make focusing on any particular area difficult without crossfire. Stay focused and take out one at a time. Alternatively, if you enter the Moathouse from the side at #6, on your way back out through #5 you can make this battle easier... though you'll likely be a higher level by that time and these guys a pushover.
5) EXIT: to
Moathouse Interior (#1). This is the front entrance, and probably the easiest, unless you're at least level 2.
6) EXIT: to
Moathouse Interior (#7). Using this side entrance will get you an immediate fight with the bandit leader, who with his gang, will probably be your toughest fight thus far. Best to try them at level 2.


