Monomyth Update - Current Progress and Level Design
-
Category: News ArchiveHits: 1250
This month's Kickstarter update for Rat Tower Software's Ultima Underworld-inspired dungeon-crawling RPG Monomyth brings us up to speed with the game's progress before picking up where the previous update left off and sharing a bunch of info on Rat Tower's level design process.
Here are the text parts:
Hi, dungeon-crawling fans!
It's been a few weeks so it is time for another update! A lot of things have happened and the project is on a good way! So without any further ado, let's get started...
Current Progress
As you may remember, I am currently in the middle of the content creation phase or, more precisely, in the middle of the world-building process. This process has a few stages. It starts with the creation of the level designs "on paper" (or in planning software, as you will see later in this update). It then continues with a blockout phase, where the basic building blocks of the designs are put into place. The finished blockouts are then re-iterated on and eventually replaced with actual game assets (i.e., 3D models of the level geometry, mostly split up into modular parts). After that follows the so-called "detail pass", where detail assets (furniture, rubble, wall decorations, vegetation, etc.) are placed in the level. The whole process is then concluded with a lighting pass, audio assets, visual optimizations, and level logic.
Monomyth is currently in the re-iteration stage (here and there I am already adding details, but mostly I am trying to stick to one task). All areas in the game - from the beginning to the end - have been blocked out. This was an important step because it narrows down the actual scope of the project and keeps it manageable. The levels of Monomyth are no longer just "on paper" designs that could be changed at the drop of a hat. Instead, I am now dealing with a finite set of concrete work tasks, which is infinitely better if your goal is to get things done.
After reviewing my schedule I decided to take a little break from level design and do some game system refactoring (that is, a reworking of the code to make it more maintain- and extendable). That means for the next two weeks I will be doing some coding which I would have otherwise done in January. Level design is a comparatively straightforward challenge from now on and I am trying to prepone any tasks which may cause unpredictable problems. Coding has a tendency to cause such problems, even though I already figured out most of the refactoring on paper, so, fingers crossed!
Once the code refactoring is done I will continue with the detail pass of the level design. This brings us to the main part of this update...
Level Design
In the last update, we spoke about level layouts and how to structure a semi-open game environment. We discussed, how levels in various classic games were essentially a set of largely independent sections, interwoven with a separate "connector" section. Today we will take a closer look at the sections themselves and talk a little bit about their creation.
A section is essentially just a collection of rooms containing encounters. Such encounters may be enemies, friendly NPCs, puzzles, etc. The first question is, how to approach a section's design. Just as with the level layouts, there are essentially two ways to go about this process:
a) Top-down: You start with a rough overview of the entire section and you continue to go into detail for every single room as a part of the whole. This approach puts an emphasis on coherent interconnections between a section's individual rooms. However, these rooms may require restructuring once the full design becomes more concrete.
b) Bottom-up: You start with a collection of readily designed rooms and compile them into a section. This approach puts an emphasis on gameplay-driven design. However, the rooms may become incoherent with each other and the connections between them may feel unintuitive.
A room, respectively a section can be anything by the way. It does not need to be a "closed" space. Practically, it can be any area with a finite set of entrances that connect it with other areas of the game. Talented level designers can create a collection of such areas and connect them in a way that seems like an entirely open world.
A very good example of this is the map of Gothic 2, which is presented as an open world environment, but strictly guides the player through various bottlenecks (i.e., entrances) from one area to the other. Fans of Gothic 2 may be very familiar with the northwestern area of the map, which is enclosed by the sea, the city, the ancient forest, the bridge, and a valley of aggressive monsters. Unless players get very "creative" (e.g., by climbing onto walls and roofs where they technically shouldn't be), exiting into another area of the game without going through one of the bottlenecks can be very difficult.
Coming back to Monomyth, I am mostly using a top-down design approach. This means, I first draw a rough overview of a section and I start re-iterating on the design. At this point, I am also annotating most of the rooms with a location name or a first idea of an encounter.
There are numerous ways to draw section overviews. Some people prefer working on paper, while others use dedicated software. For Monomyth I normally use Dungeon Painter Studio (DPS), a tool that was originally developed for Pen & Paper DMs. It allows its user to draw tile-based maps, much like on graph paper.
Having all the map designs in a digital form has a big advantage. Once I am satisfied with the design I export the map as an image file and I import it in the Unreal Engine 4 (UE4). With the right scaling, the image file can be applied as a texture on a simple plane, which then serves as an exact floor plan for the blockout stage.
During the blockout stage I align the floor plan with UE4's top view grid and I use blueprint actors to build the environment according to the design. These blueprint actors represent various building blocks of the level, such as different kinds of walls, floors, doors, and so on.
Every actor I place is of a certain class. This has the advantage that once the modular meshes for the respective area are done, it is not necessary to replace the entire blockout. Instead, I simply adjust the blueprint classes, which then automatically updates every actor. Take for example the following meshes[...]
I simply plug these meshes into the blueprint actor classes and remove the original gray building blocks in them. All instances of the adjusted classes are automatically updated and the blockout will be significantly closer to the desired end result. At this point, it is also a good idea to think about encounters.
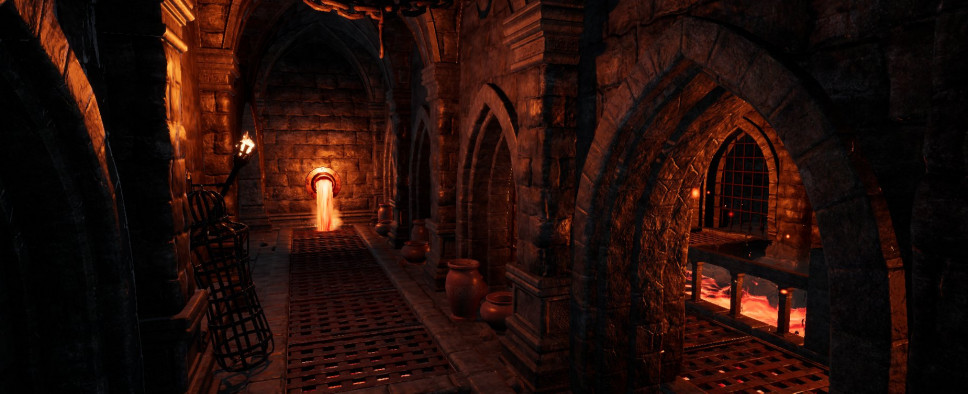
Once the basic geometry is there and I am satisfied with the look of it all I usually continue by adding detail meshes and lighting. This is called a detail pass, respectively a lighting pass. In these stages, I also visually optimize the scene by adding particle effects, fog, etc.
At this point the only things that are still missing from the level section are audio assets (e.g., ambient sounds) and level logic. Level logic describes any level-specific functionality within the game environment. This may be something that affects the level design (e.g., a collapsing hallway or a suddenly flooded room), in which case it is recommendable to already consider level logic during the blockout stage. Sometimes, however, level logic can be something as simple as an automatic door[...]
And that's it! During the entire process, it is of course recommendable to test the section again and again. Especially with regards to scaling, encounter pacing, item distribution, and so on.
It should be noted, that this approach is slightly different from the industry standard and requires special consideration in terms of verticality. Usually one would use so-called geometry brushes, which are simple 3D shapes that are combined into whatever you wish to block out. UE4 does provide such geometry brushes, but unfortunately, this feature has been slightly neglected by the engine developers, meaning it is not very performant, and comparatively impractical to work with (at least in UE4.26).
Either way, the process I am employing works very well for enclosed spaces and dungeon crawling environments. Next time we will take a look at rooms and encounter design. Until then!
Best wishes,
Michael
